Preparing Your New Cricket Bat
Knocking in your new cricket bat is an essential part of its preparation, even if you have purchased a 'pre knocked in' bat. Below is a guide on how to prepare your new cricket bat.

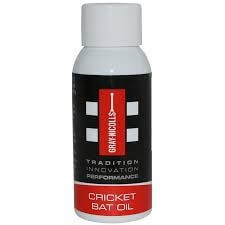
- Apply raw linseed oil to the face, edges and back of the bat. Apply it evenly and the correct amount is 2 to 3 teaspoons of oil. Take care not to oil the splice (where the handle fits into the blade), handle or labelled areas. Also take great care not to over oil the bat as this will deaden the fibres of the timber and affect performance.
- Leave the bat horizontal and face up to dry for 24 hours.
- If you are planning to use the bat in its natural state, without an anti-scuff or extra-tec sheet, then repeat steps 1 and 2 twice more. (If you are planning to have a protective extra-tec sheet fitted on the face of the bat then just one coat of oil is sufficient).
- Wipe off any excess oil and knock in your bat with a cricket bat mallet for approximately 4 hours. These mallets have rounded edges. The edges and toe of the blade require particular attention using glancing blows off the face to harden and round these areas. Particular care and attention should be made not to hit the edges, toe or back of the bat directly as this will cause damage. The knocking in should be performed with gradual increasing force, but never too hard to cause damage.
- Fibre tape is applied to the edges of the bat and an Anti scuff sheet is fitted over the top if required. We strongly recommend this procedure.
- Test the blade using a good quality old ball during a light net session or having "throw downs". If seam marks and indentations occur further knocking in is required.
- Go out and make lots of runs!
Leave a Comment